


Why Your Kitchen Cabinet Paint Job Might Fail
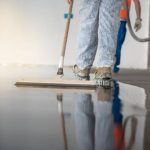
So you’ve decided to refresh those tired kitchen cabinets. Smart move. A fresh coat of paint can completely transform your space without the hefty price tag of full replacement. But here’s the thing — cabinet painting looks way easier than it actually is.
I’ve seen plenty of kitchen makeovers go sideways. And honestly? Most failures come down to the same handful of mistakes. The good news is they’re totally avoidable once you know what to watch out for.
Whether you’re tackling this yourself or hiring someone for Kitchen Cabinet Painting Services in Scarborough ON, understanding these pitfalls saves you time, money, and a whole lot of frustration. Let’s break down the eight biggest mistakes that ruin kitchen renovations.
Mistake #1: Skipping Surface Preparation
This one’s the silent killer of cabinet projects. People get excited about picking colors and forget that proper surface preparation determines everything else.
Kitchen cabinets collect grease, cooking residue, and grime that you can’t even see. Paint won’t stick to that stuff. Period. You need to thoroughly clean and degrease every surface before doing anything else.
What Proper Prep Actually Looks Like
- Degrease with TSP or a strong kitchen cleaner
- Sand surfaces to create tooth for paint adhesion
- Fill any holes, dents, or damage
- Wipe everything down again to remove dust
Skip any step and you’re basically guaranteeing peeling paint within months. Not worth it.
Mistake #2: Using the Wrong Primer
All primers aren’t created equal. That bargain bin primer might work fine on drywall, but kitchen cabinets need something tougher.
Different cabinet materials require different primers:
| Cabinet Material | Best Primer Type |
|---|---|
| Raw Wood | Oil-based or shellac |
| Previously Painted | Bonding primer |
| Laminate | Adhesion primer (critical!) |
| MDF | Shellac-based to seal |
Using latex primer on laminate cabinets? That paint’s coming off. It’s just a matter of when.
Mistake #3: Rushing Dry Time Between Coats
Patience isn’t exciting. I get it. But slapping on coat after coat without proper drying destroys your finish.
When paint doesn’t fully dry, the layers can’t bond correctly. You end up with a finish that’s soft, sticky, or peels right off when something bumps it. Kitchen Cabinet Painting Scarborough projects fail constantly because of this.
Realistic Drying Guidelines
- Touch dry: 1-2 hours (don’t trust this for recoating)
- Recoat ready: 4-6 hours minimum
- Full cure: 2-4 weeks
Yeah, weeks. That’s why rushing the early stages backfires badly.
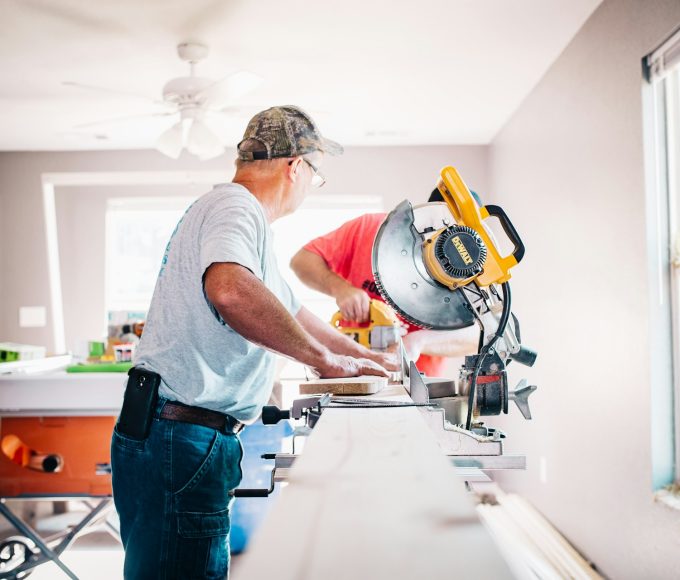
Mistake #4: Cheap Brushes and Rollers
The tools matter more than most people realize. Grab a $3 brush from the bargain bin and you’ll spend hours picking bristles out of your paint. Not fun.
Quality brushes and foam rollers create smooth finishes without texture issues. For Kitchen Cabinet Painting Services in Scarborough ON, professionals use spray equipment for that factory-smooth look — something nearly impossible with budget tools.
Spending an extra $20 on good application tools saves massive frustration. And frankly, the results speak for themselves.
Mistake #5: Ignoring Temperature and Humidity
Paint chemistry gets finicky with weather conditions. Too cold and paint won’t cure properly. Too humid and drying takes forever while attracting dust.
For expert assistance with kitchen cabinet painting projects, Paint Squad Cabinet Refinishing offers reliable solutions that account for these technical factors many homeowners overlook.
Ideal Painting Conditions
- Temperature: 50-85°F (10-29°C)
- Humidity: Below 50%
- Good ventilation throughout
Painting in your garage during a humid summer day? Recipe for disaster. The finish stays tacky and attracts every dust particle floating around.
Mistake #6: Reinstalling Hardware Too Early
This mistake happens constantly. The cabinets look dry, you’re excited to see the finished product, and boom — you scratch fresh paint putting hinges back on.
Remember that cure time mentioned earlier? Scarborough ON Kitchen Cabinet Painting jobs need proper curing before hardware goes back. Even paint that feels dry can still be soft underneath.
Wait at least a week before reinstalling anything. Two weeks is better. Your future self will thank you.
Mistake #7: Skipping the Protective Topcoat
Kitchens are brutal environments for painted surfaces. Steam, grease splatter, constant handling, kids’ sticky fingers — your cabinets take a beating daily.
A clear protective topcoat adds durability that paint alone can’t provide. It creates a barrier against:
- Moisture damage
- Grease and food stains
- Everyday wear and scratches
- Yellowing over time
Think of topcoat as insurance for all the work you’ve already done. Worth every penny.
Mistake #8: Not Testing on a Sample First
Colors look different on screens, paint chips, and actual cabinet doors. Lighting in your kitchen affects everything too.
Always paint a test sample before committing. An extra cabinet door or even a large piece of primed wood works great. Live with it for a few days. See how it looks in morning light versus evening. For additional information on home improvement decisions, taking this extra step prevents major regret.
Repainting an entire kitchen because the color looked nothing like expected? That’s an expensive mistake easily avoided.
Frequently Asked Questions
How long should kitchen cabinet paint cure before normal use?
Full curing takes 2-4 weeks depending on paint type and conditions. You can gently use cabinets after a few days, but avoid heavy stacking or scrubbing until fully cured. Treat them carefully during this window.
Can I paint over laminate kitchen cabinets?
Yes, but only with proper adhesion primer designed specifically for laminate surfaces. Regular primer won’t bond correctly and the paint will peel off. This is non-negotiable for Scarborough ON Kitchen Cabinet Painting on laminate surfaces.
What’s better for kitchen cabinets: brush or spray?
Spraying creates the smoothest factory-like finish with no brush marks. Brushing and rolling work fine but require more technique. Many homeowners combine methods — spray doors and drawer fronts, brush the frames.
Why is my cabinet paint still sticky after drying?
Usually means inadequate dry time between coats, high humidity during application, or incompatible products layered together. Sometimes the only fix is stripping and starting over, unfortunately.
Do I really need to remove cabinet doors for painting?
Technically no, but results suffer significantly when painting doors in place. Removing them allows better access to all surfaces and easier horizontal painting that prevents drips. It’s extra work that pays off.
Getting kitchen cabinet painting right takes patience, proper materials, and attention to detail at every step. Cut corners anywhere and it shows — usually within months. Whether you DIY or hire professionals, understanding these common mistakes helps you get results that actually last.


Leave a comment